This painting was originally starged in November 2009, and has lain in my unfinished pile since. Decided it would be a good one to demonatrate the capabilities of using Embroidery Stabilizer, instead of just covering it with a heavy coat of Gesso. To see the process that started the path to the final painting see my post of October 26. (http://merleplaggeart.com/dir/?p=1000)
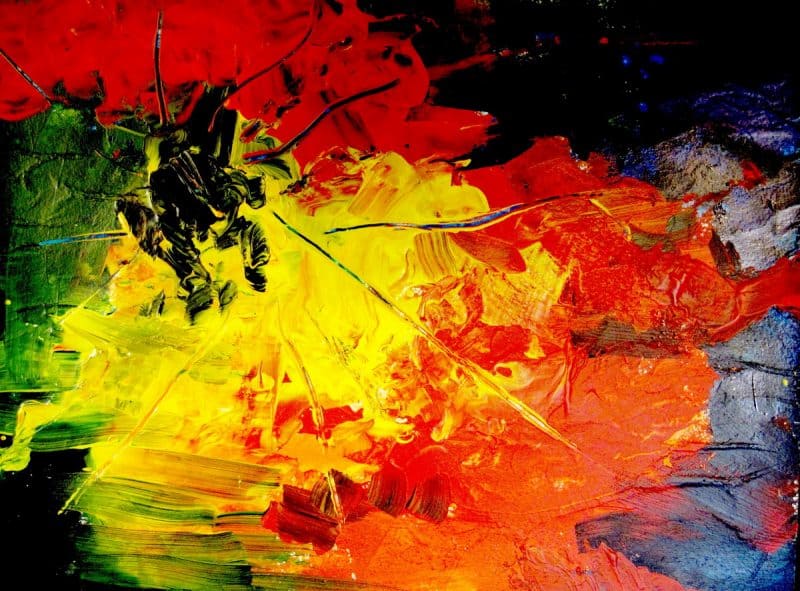
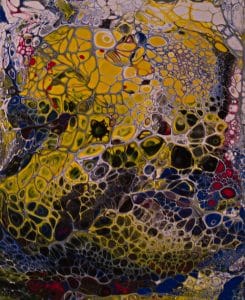
Initial painting done in 2009, pure acrylic. Called 'Hotseat'
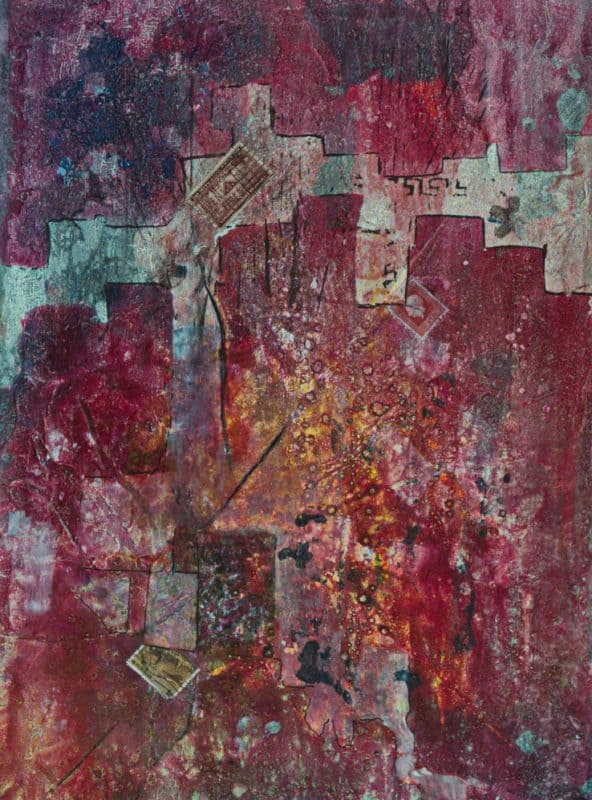
Final painting after treatment with white gesso and embroidery stabilizer as well as watercolor paint and other hand drawn lines and textures.
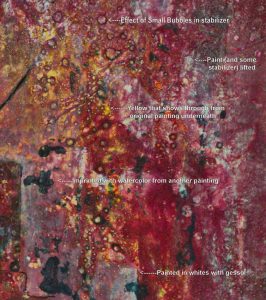
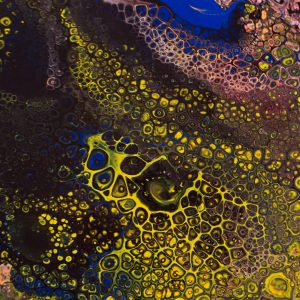
Just below is an enlarged area of the lower right of the painting. It shows annotation of what the various visual textures are a result of.
Thanks much for looking and checking this out. It really is a neat way for redoing an old painting that has not been one of your favorites. Any comments are gratefully appreciated.
A Review of methods of producing crackled texture effects in paintings.
Crackle Paste – A Golden product that requires a rigid substrate and thick application. Doesn’t work on Yupo or paper. Somewhat chalky.
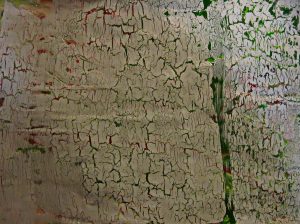
Kroma Crackle – from Kroma Industries. Relatively new product. Thinner application and can be used on flexible substrate. Takes a long time to dry–even in the winter time with humidity low in the studio. It is somewhat fragile when it starts to dry. Can easily be limited to smaller areas. Dries to a chalky white color, with the darker color underneath as the cracks. Then it can be painted on top as desired, with either watercolor or acrylic paint.
Kroma Crackle – after completely dry. Cracks vary according to the thickness of the application. A few pieces of the dry compound have brushed off in handling.
Crackle Glaze – made by Poly Vine Industries. Designed to be used with flat Latex paint. Gives interesting cracked effect. And looks good, and probably can easily be localized as needed and still look natural.
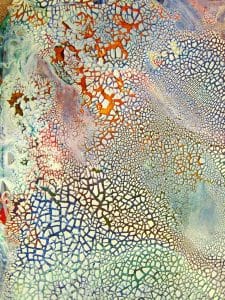
Surface after Crackle Glaze used. On the left hand two thirds it was painted with a very light blue latex interior paint. On the right I used gesso, tinted a bit with blue India ink.
Stamping – totally repetitive and no control over size of crackles. The stamp I have has rather large spaces.
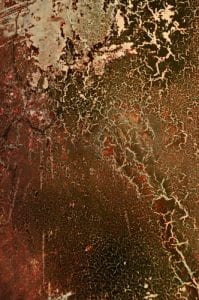
Organic based spray paint over water wetted substrate. Can be on a flexible substrate, but very unstable and fragile till coated with fixative of some sort. I have used this in multiple paintings on Yupo with good, quite subtle results. Generally limited to small areas. Not predictable size of cracks.
Black commercial spray paint (in pressurized cans) over a wet surface of reddish acrylic paint.
Dirty Pour – simulates crackling a little bit in some areas, but totally unpredictable and very hard to control in all aspects.
Hand painting … very tedious and almost impossible to get looking natural.
Conclusion: come back next time, hopefully in a few days. In the meantime, thanks for reading, and if you have any questions or additions please comment. The link is just under the title.
This afternoon I mixed a good amount of paint for pours. I used Dick Blick student grade fluid acrylics. They are quite old and were a little thicker than when purchased a couple years ago, so I mixed a little water in also. I mixed all 5 paints the same way.
1. 60 cc. of paint
2. 30 cc. of PaintEasy
3. 4-5 cc of water as needed to thin it down to what I estimated the original viscosity of the paint was. I used, Titanium White, Ultramarine Blue, Magenta, Chrome Yellow (Probably a Cad Yellow-looks like it) and Mars Black.
4. Added 10-14 drops of Silicone. The silicone I use is from a spray that I spray in a larger bottle and then add to a dropper bottle. This technique keeps from getting all the chemicals in the spray indoors, as I can spray it in the bottle outside.
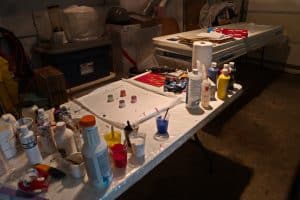
Here are some pictures of the pieces I did. First though my setup.
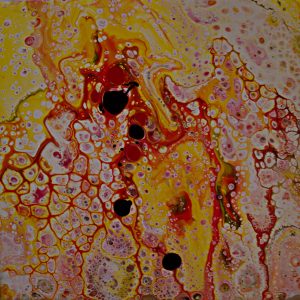
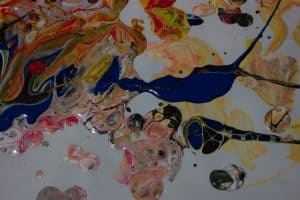
This shows my setup for the pours. The table in the distance is for collecting the completed pieces. It is very level.This was my first pour today. White, yellow and red. Added a couple drops of red and black afterwards.Swipe pour on a piece of hardboard that had been sealed with Gesso, and then i sanded the Gesso.Was running out of white, so mostly yellow and black and some blue and a couple drops of red and white.This was the last pour I did from that same mix of paint. Only had a few drops of white, lots of black and a little red and blue in the mix. This actually is an 8″ tile, but distorted because of the angle I had to take it to avoid reflections. I corrected it some, but didn’t want to loose any of it. I’ll get a better shot when it’s dry.This is a shot of multiple drips from multiple pours this afternoon.
You can see from the last two that white is NOT necessary in every pour. You can get cells without the white, and I think they’re even better than with white.
Please add your comment or questions about my techniques.
Many aren’t bothered by the relatively large amount of acrylic paint and thinner/polymer emulsion mixture that is essentially wasted as it runs off a painting. To me, it’s not wasted. Initially I just put some newsprint under my tiles or canvases and threw it away after it was dry. Then I decided to try putting Freezer paper under the canvas and thus able to make use of the pour excess, since other skins I’ve made for collaging were made on freezer paper.
It works pretty well, but there are two things that are quite different from using straight acrylic pain for the skin. 1.) The skins are quite thin when dry and are thus quite fragile. 2.) They take a long time to dry. These two skins I’ve had out in the sun most of the day for almost a week, and they finally have matured/cured enough to remove from the freezer paper. Also I noticed that those skins from FW Acrylic Ink are very brittle and don’t survive removal as well as those from Fluid Acrylics.
So, when trying to salvage some skins for your pours, don’t spread them out. The quite thick puddles will flatten to normal thickness when dry. And, don’t try to remove them until they are finally dry and cured.
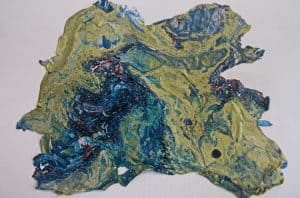
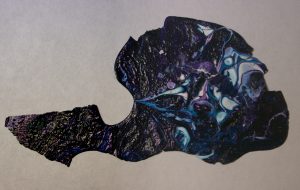
Here’s a couple of skins I just today was able to remove from the paper. The first is from fluid acrylics and PaintEasy. It’s quite thin, but will make a good piece in the right spot.
Acrylic skin from a Dirty Pour about a week ago. It is about 6 inches in size.
The second is from a pour using FW Acrylic Ink and Floetrol. It is a little thicker, but somewhat brittle and needs to be handled with care. It too will make a good piece in the right spot. It is a little smaller (about 5×3″) than the first and quite a bit more shinny than the first.
From acrylic pour using FW Acrylic Ink
Have you tried saving these for late use in paintings? Let me know.
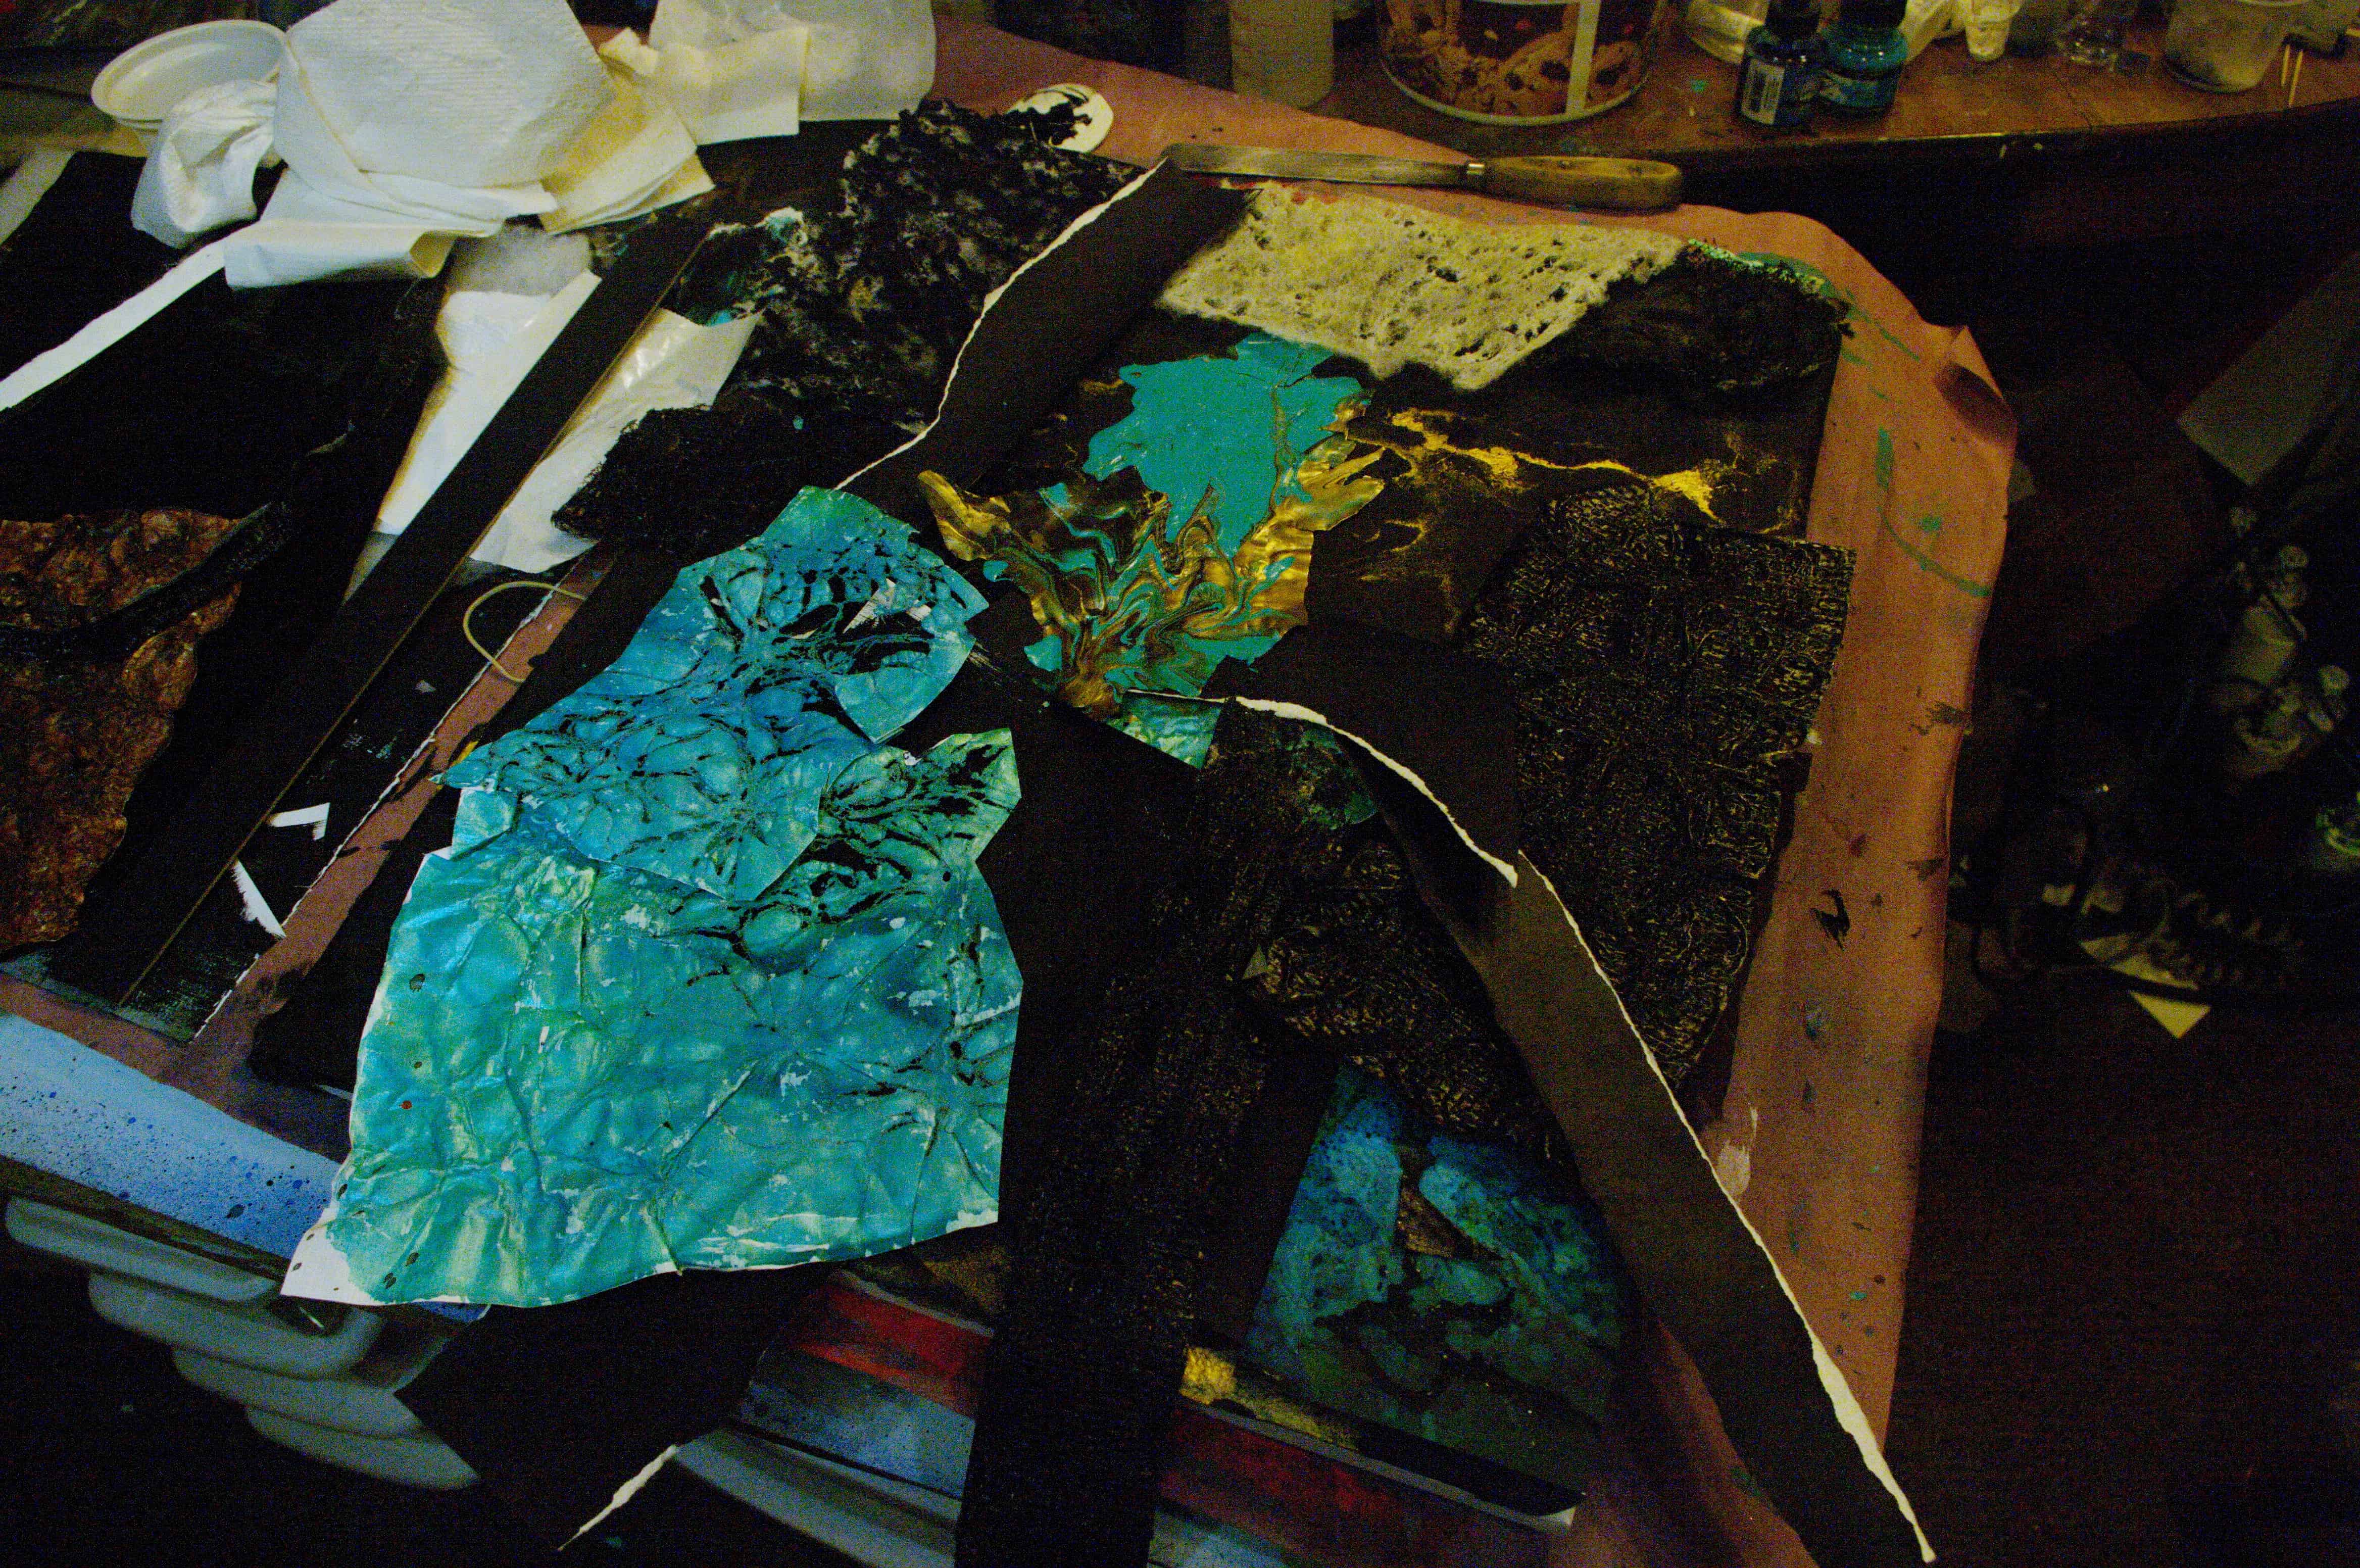
The value of using a mat in evaluation of a painting is particularly evident when doing a mixed media, somewhat thick, collage. Nothing seems to make any sense when the material appears seemingly just thrown randomly on the paper. In this case there’s a 20×16″ canvas under all this. In doing this I most often work with the mat in place, but here’s what it looks like with the mat removed.
Before containing pieces with a mat.
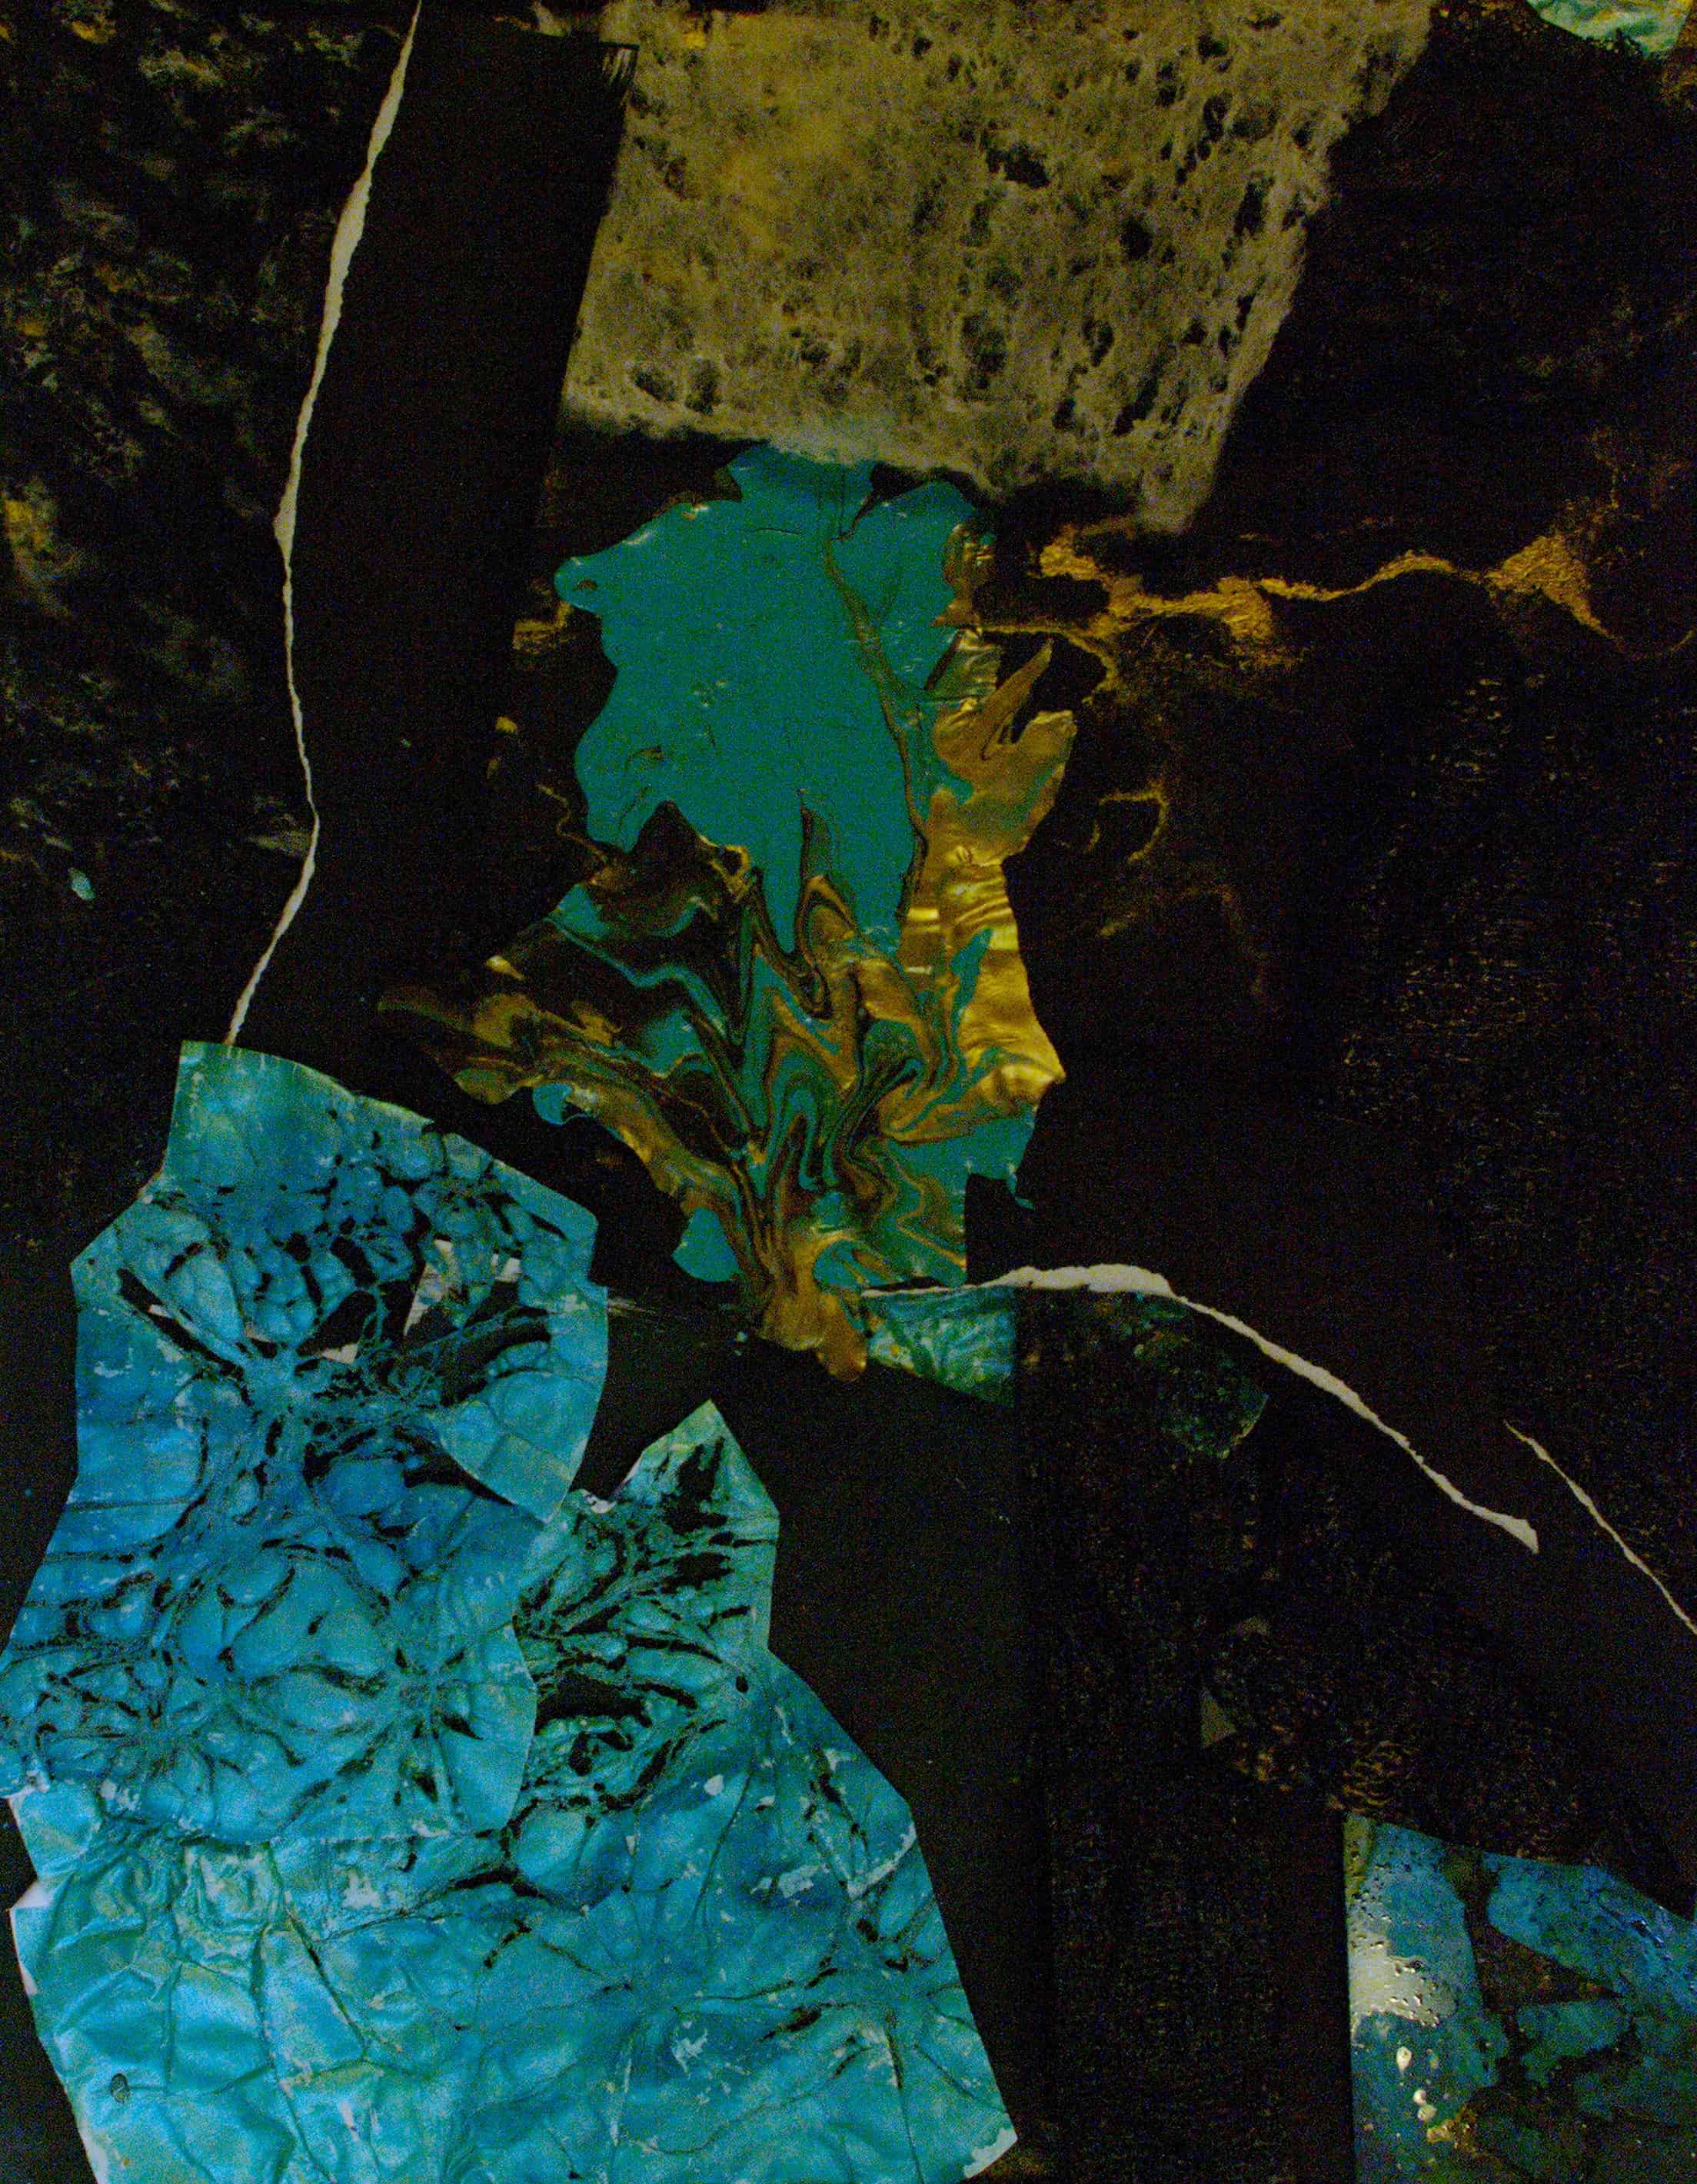
And here, with a mat with a 20×16″ opening. Didn’t move any of the pieces. Just lifted the mat. I have not glued most of the pieces at this stage. I did crop off the mat for this picture, but followed the sizing exactly. Stay tuned for the next episode.
Aha, it’s not all chaos.And here’s a thumbnail so you can see the overall plan.