Tag Archives: acrylic pour

The Soo Experience

Just got back from a great experience painting with Helga Flower.  (http://www.helgaflower.com/HFBiopage.html   and  https://www.facebook.com/helga.flower.9)

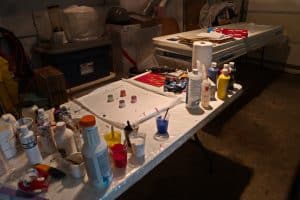
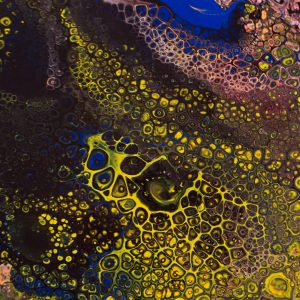
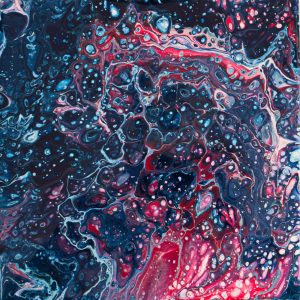
We played with pouring techniques. She had a piece of thick foamcore board 30×20″ and I decided to try a swipe pour.  Mixed up a about three hundred ml of red, yellow, black and white paint with PaintEasy, water and silicone.  Everything worked well, and I stabbed into the painting with the edge of a piece of Yupo I was using for the swipe.   Only problem that happened was the bending of the Foamcore from the wet media. All the beautiful cells in the lower part didn’t stick around. But, it’s still nice.  I’m thinking Yupo may be better for doing large pours because it doesn’t curl when  wet.

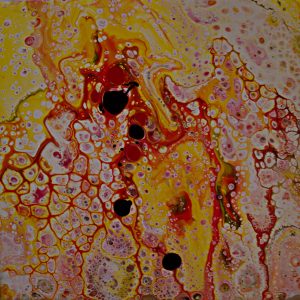
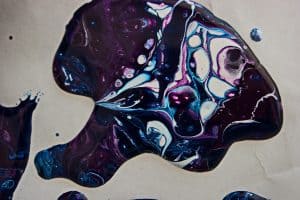
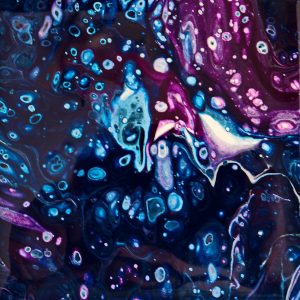
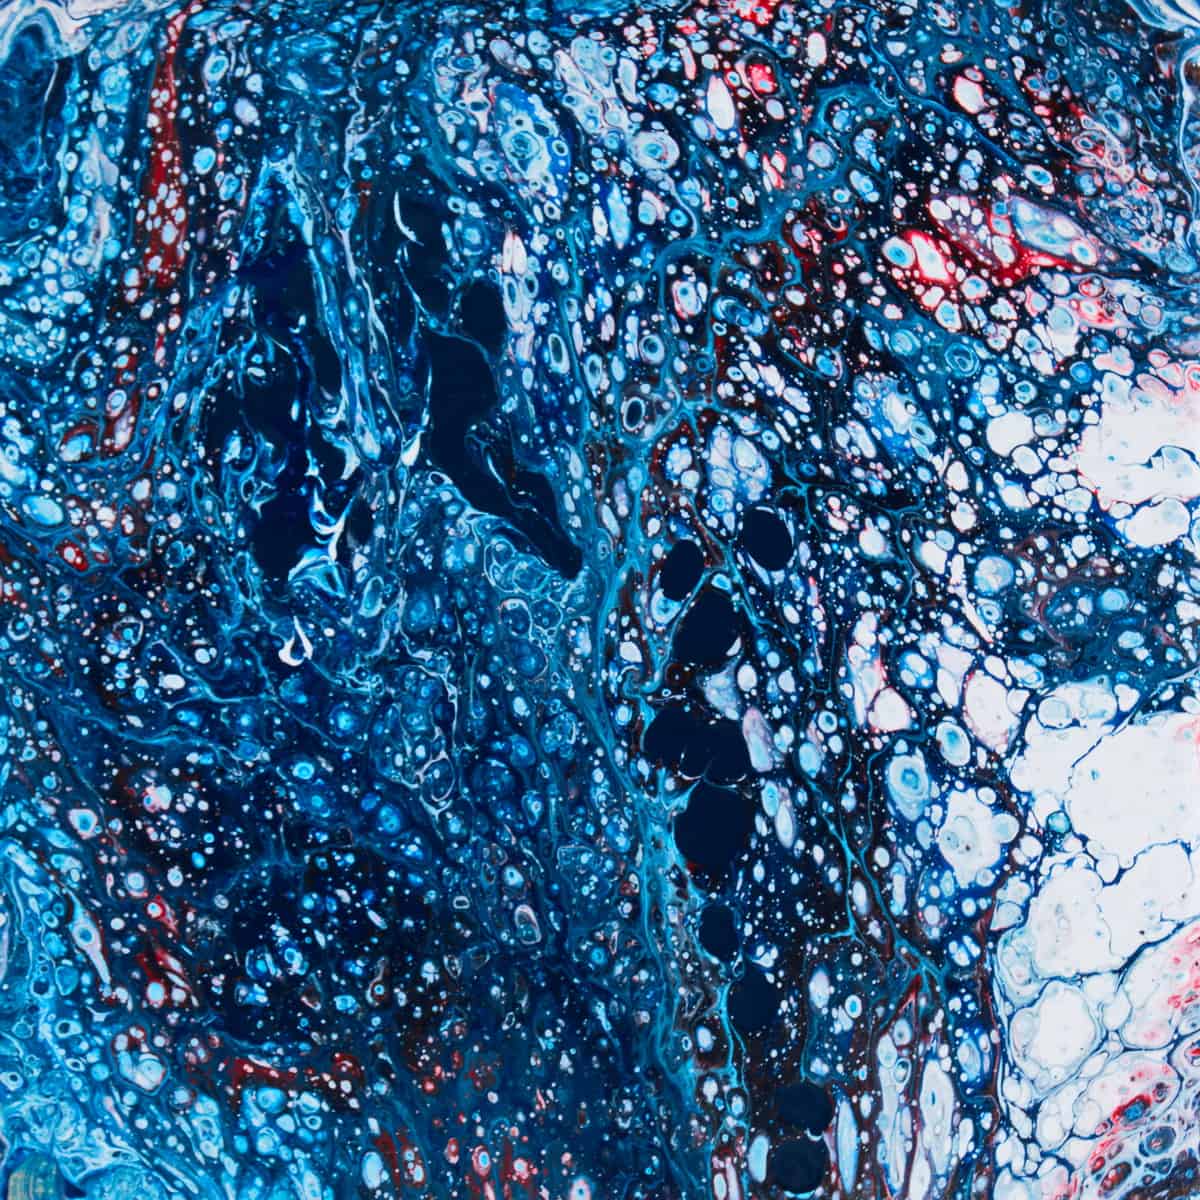
This is a piece about 9×12 of Yupo that we did a preliminary pour with. It did not curl at all, and didn’t loose any cells over the edge.

This picture was taken just after completing the pour.  I had to take it a quite an angle to prevent glaring from the overhead light.

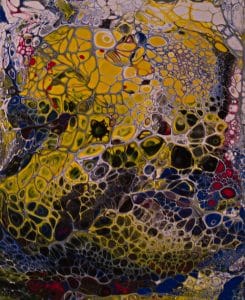
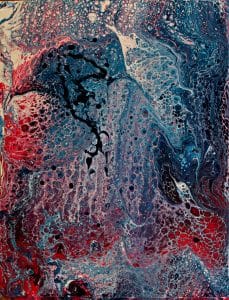
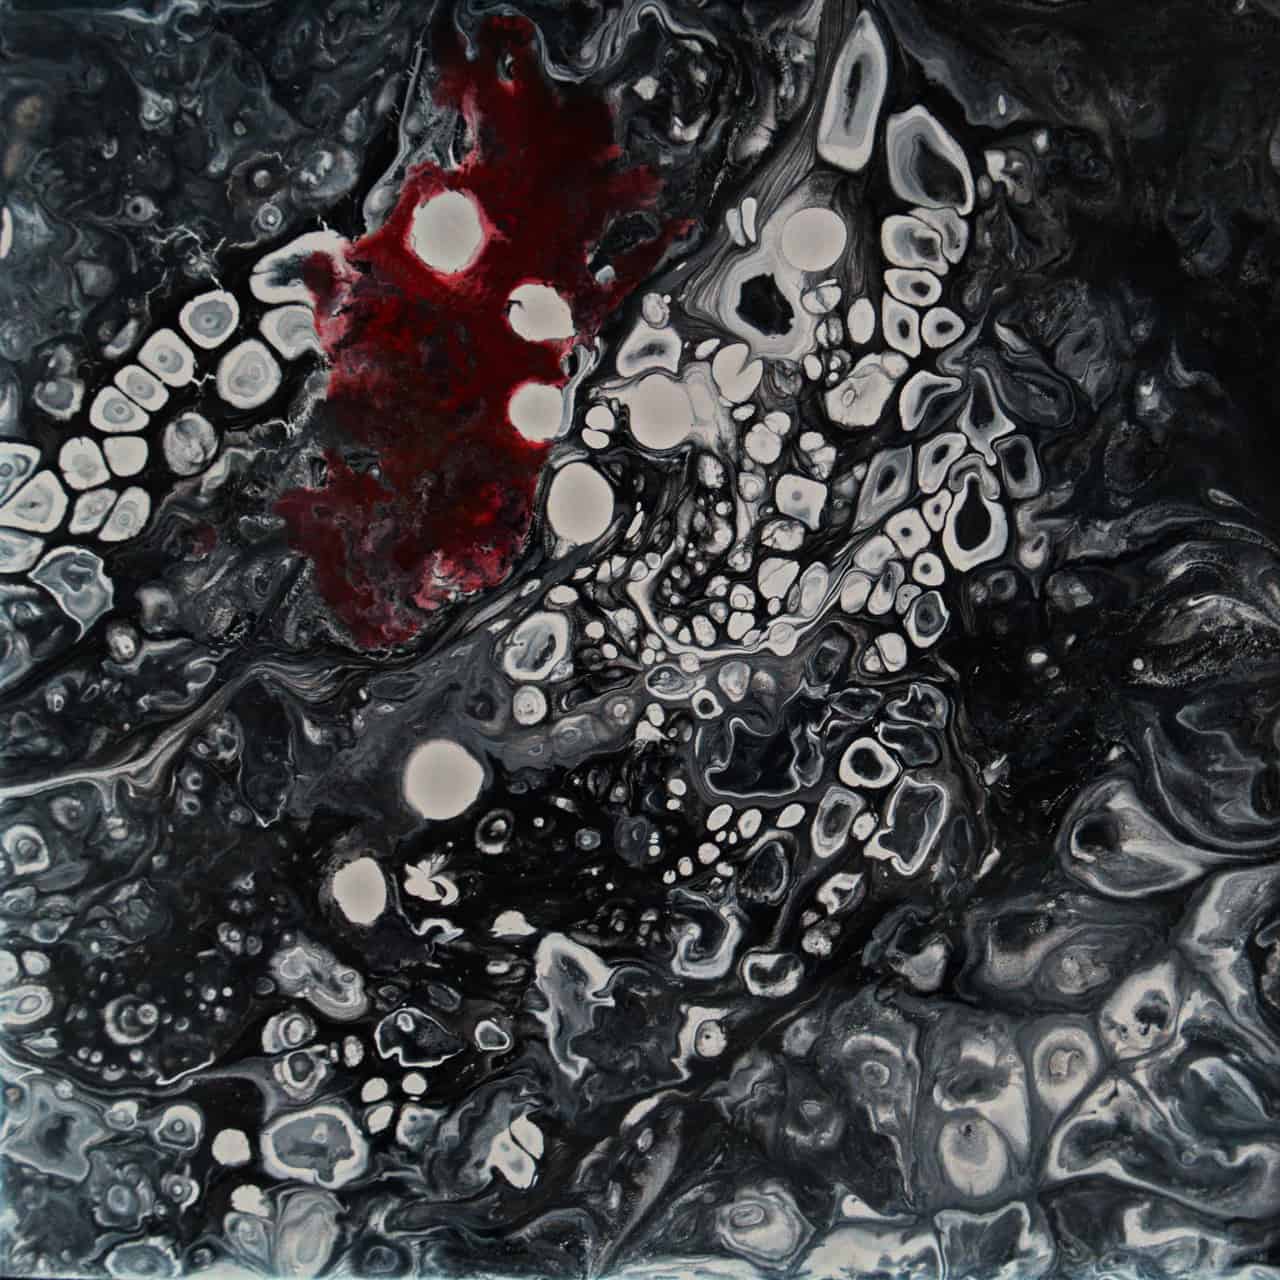
The main star of the show was this piece–30×20″

Again, tremendous glare from the above light, so it’s a little distorted and  I got a dark spot (shadow) on the lower right.  Helga’s picture later is much better.  (She has it posted on her Facebook page.) Since this was on 1/2″ Foamcore board we didn’t think it would bow out, but it sure did, and it lost a lot of the cells on the bottom and in the red area.

We used a formula of 2 parts paint and water mix (the paint I was using was old and quite thick, so I diluted with water to normal fluid acrylic thickness),  and then mixed this two parts to one part of PaintEasy.  [Or approx 30% PaintEasy and 66%  fluid acrylic paint.]  PaintEasy is another product that is much thinner than Floetrol, so less water is needed for the final mixture.

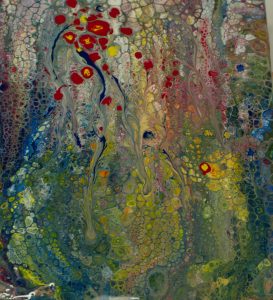
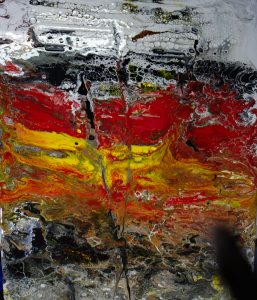
Some other pictures from our Soo adventure are here (click on the picture below to see all the others.)

Thanks for looking.  Comment?

Afternoon Pours

This afternoon I mixed a good amount of paint for pours. I used Dick Blick student grade fluid acrylics. They are quite old and were a little thicker than when purchased a couple years ago, so I mixed a little water in also.  I mixed all 5 paints the same way.
1. 60 cc. of paint
2. 30 cc. of PaintEasy
3. 4-5 cc of water as needed to thin it down to what I estimated the original viscosity of the paint was. I used, Titanium White, Ultramarine Blue, Magenta, Chrome Yellow (Probably a Cad Yellow-looks like it) and Mars Black.
4. Added 10-14 drops of Silicone. The silicone I use is from a spray that I spray in a larger bottle and then add to a dropper bottle. This technique keeps from getting all the chemicals in the spray indoors, as I can spray it in the bottle outside.

Here are some pictures of the pieces I did. First though my setup.

This shows my setup for the pours. The table in the distance is for collecting the completed pieces. It is very level.
This was my first pour today. White, yellow and red. Added a couple drops of red and black afterwards.
Swipe pour on a piece of hardboard that had been sealed with Gesso, and then i sanded the Gesso.
Was running out of white, so mostly yellow and black and some blue and a couple drops of red and white.
This was the last pour I did from that same mix of paint. Only had a few drops of white, lots of black and a little red and blue in the mix. This actually is an 8″ tile, but distorted because of the angle I had to take it to avoid reflections. I corrected it some, but didn’t want to loose any of it. I’ll get a better shot when it’s dry.
This is a shot of multiple drips from multiple pours this afternoon.

You can see from the last two that white is NOT necessary in every pour.  You can get cells without the white,  and I think they’re even better than with white.

Please add your comment or questions about my techniques.

A couple more Acrylic Pours with Inks

After seeing how the acrylic ink pours that I did a couple days ago dried and looked when dry, I decided to try some more.  This time I was a little more careful of how much Floetrol I added.  I used about 30-35% Floetrol, since the FW Inks are so heavily pigmented.  I added about 10 drops of silicone.  (Since I had so much silicone spray, I collected the spray in a bottle with a dropper, outdoors, for more accurate application, and less air pollution indoors when using it. ) Even with that much diluent the colors are dark and bright appearing.

The first pour was a swipe pour on a piece of gessoed mat board, about 11×14″ (27×35 cm) I had stapled to a paint board.  I think pouring on a paper base, instead of a non-absorbent surface like a tile, hastens the drying process immensely. The same applies to using canvases, but when it’s dry there’s no canvas pattern showing.

First Pour – A swipe pour using Acrylic Inks, Floetrol and silicone.

I still had quite a bit of paint left, so did a dirty pour on an 8″ tile. The excess paint that ran off from that pour is very interesting, and I’ll leave it on the Freezer Paper to dry and peel off in a couple days.

Second pour –same paints as first one.
Runoff from 2nd tile pour.

Still had some paint left–gee, does it reproduce and multiply in the cup? So did a 4″ tile. Didn’t have but a few drops of the red left, so it doesn’t show.

Leftover paint from two previous pours–this is a 4×4″ tile. Acrylic ink and Floetrol and silicone.

Will be interesting what these look like in a couple days when they’re dry.  I’ll post some more pictures then.

Day Two – Acrylic Pours

We spent all day working with acrylic pours. My first demo of this was yesterday (first image below), and today I initially went over the steps in detail, then decided to experiment a bit–did a demo using FW Acrylic Ink mixed with Floetrol. Used all ink, including the white. Since the inks were less viscous than the mixed acrylic paint, I decided that the addition of the thicker Floetrol would be better. It worked fantastically, drawing ooh’s from the gals watching. And the cells remained pretty stable. I must admit it did use a good 10 drops of Silicone. (Second image below)

We had three different kinds of mixtures being used today, all giving about equally good results. One was using PVA glue mixed with water and liquid Silicone. Another was using PaintEasy and silicone spray, I was using acrylic inks and Floetrol. The determining factors in the types and sizes of cells seemed to be three things–one the thickness or viscosity of the acrylic mixture, and  two, the amount of paint used, and thirdly, to a lesser degree, the amount of silicone used.

Some images of different pours.


Tomorrow we’re going to be using the collage papers from yesterday to do an abstract image, inspired by a photograph from me.