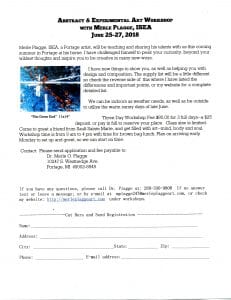
My challenge and theme for this workshop was CONSTRAINTS and how they may make your painting freer and more imaginative.
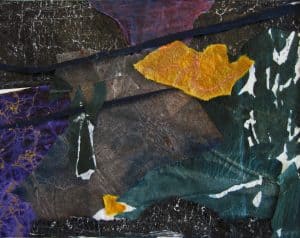
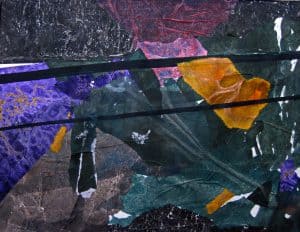
Had wonderful weather for my workshop this year, although the last day was rainy at times. We covered lots of topics: some new pour techniques, making collage papers, monoprinting for texture background and spraying oil type paints over wet paper using leaves/flowers as templates,
For my major project this year, I gave each artist a box of found objects, papers, etc, that they were to use at least 6 of them, in any number of paintings using an image I supplied for inspiration. Of course, the images were all very abstract and some just highlights and shadows of unrecognizable objects. This was a very difficult project this year.
Here are some pictures taken during the workshop. Many keepers in the mix
Overview Garage
Lots of different supplies
Marge working on a design.
Linda concentrating on design
Workshop-Linda Spray Painting
Carrie working on a design
Helga working on a design.
Another Pour
Practice Tiles Baking in Sun
Student Pour Art
Student result of new pour technique.
Working On Challenge
My Demo Tile
String pull technique on a fresh pour
Leaves Alive
Piece I did as a demo of spray painting technique, utilizing a wet paper with oil soluble spray paint.
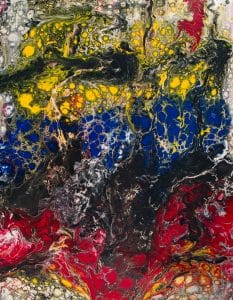
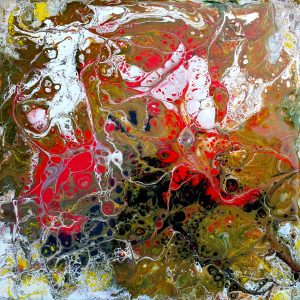
Yesterday was another workshop on Acrylic pouring techniques. We started in the morning with 8″ tiles. I did a quick demo using a previously used wood panel. Then I prepared full cups of five paints–white, black, red, yellow and blue. Diluted them with water and PaintEasy, added some silicone, but ran out, so I used some RainX I had.
This is after it had dried some, but still has a long way to go. Can change a lot.
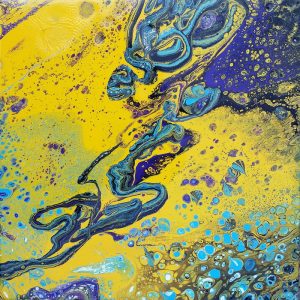
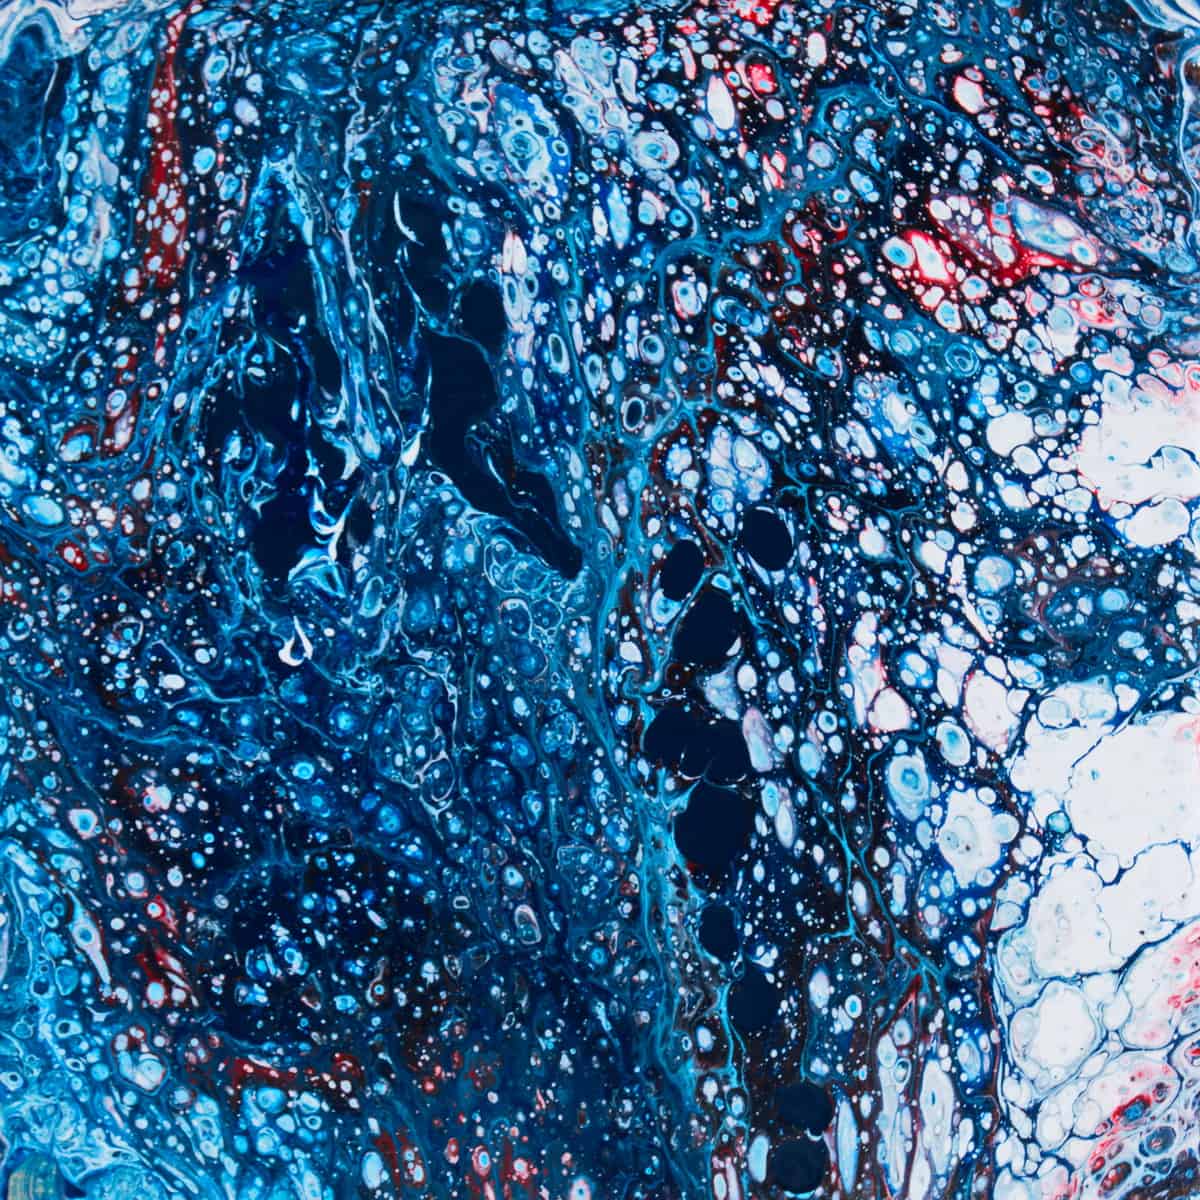
I did the pour on a sheet of Yupo (26×20″ ) supported on a 3/4″ insulation board. Amazingly this stayed flat during the drying process. I put it out in the sun in the afternoon, but didn’t have it perfectly level, so had a little running before it stabilized. It is still beautiful, especially if you like bright saturated color. Later I tried a pour using some of the same colors but added some metallic bronze as the predominant color, on a 1/2″ Foamcore board. Remind me not to use them again. Within a couple hours it wa shaped like a bowl and the metallic paint seemed to want to turn to mud. Boo hiss!!!!
Here’s a couple of the student pours.
One of Carrie’s pours. She did three others in the same color scheme.One of Linda’s PoursShe used an unconventional approach. After failure of her first pour on this tile (mud), she poured some pure colors on top, and then heated it. What a nice tile she has–surprised us all.
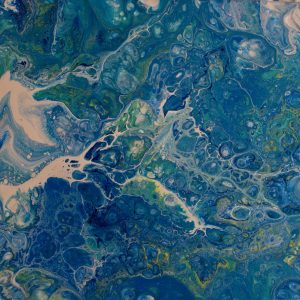
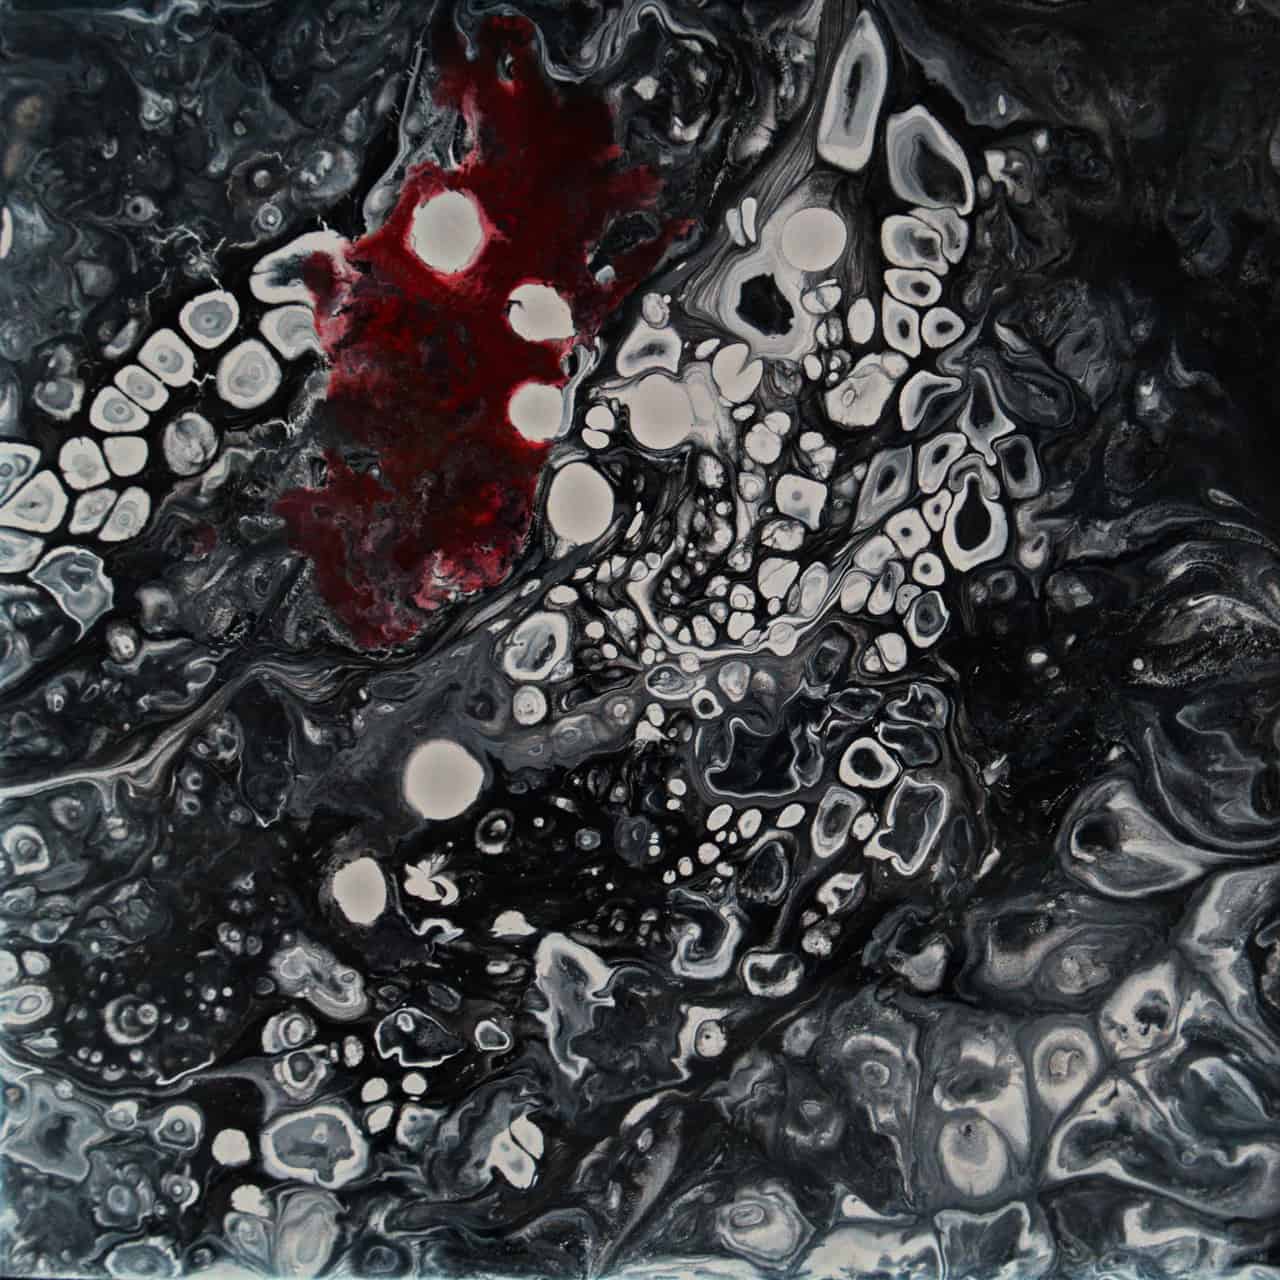
We spent all day working with acrylic pours. My first demo of this was yesterday (first image below), and today I initially went over the steps in detail, then decided to experiment a bit–did a demo using FW Acrylic Ink mixed with Floetrol. Used all ink, including the white. Since the inks were less viscous than the mixed acrylic paint, I decided that the addition of the thicker Floetrol would be better. It worked fantastically, drawing ooh’s from the gals watching. And the cells remained pretty stable. I must admit it did use a good 10 drops of Silicone. (Second image below)
We had three different kinds of mixtures being used today, all giving about equally good results. One was using PVA glue mixed with water and liquid Silicone. Another was using PaintEasy and silicone spray, I was using acrylic inks and Floetrol. The determining factors in the types and sizes of cells seemed to be three things–one the thickness or viscosity of the acrylic mixture, and two, the amount of paint used, and thirdly, to a lesser degree, the amount of silicone used.
Some images of different pours.
Sue Swipe Pour Paint Easy
Beautiful pour, using Pain Easy. She initially had problems swiping it, but after a couple trys and adding more paint got this beautiful result.
Linda Swipe Pour
This is a swipe pour using PVA glue (Elmers) diluted with water and thinner tube paints and silicone.
My Swipe Pour
I did this swipe pour as a demo to show how to do swipe pours. . Used FW Acrylic ink and Floetrol and silicone. It was on a rather thin hardboard that I had a couple coats of gesso on from and back.
Marge Dirty Pours
This was using PVA glue and spray silicone, pour done on an 8" tile.
8/23 Colorful Driveway Again
A little windy today also. But beautiful cloudless sky that dried things well.
Tomorrow we’re going to be using the collage papers from yesterday to do an abstract image, inspired by a photograph from me.