Entry in ISEA This Year

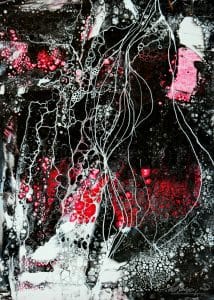
TFinally decided to enter this year at the last minute.  (Originally thought I wouldn’t enter because the show is in Canada [St. Albert] and the shipping would be prohibitive.)  But, we needed entries, and this would be my 6th acceptance I think. And now, with the advent of the Novel Coronavirus, essentially shutting down everything around the world, the open gallery showing of the acceptances is in doubt.  Sounds like a great place to visit in late August.
img - rising up

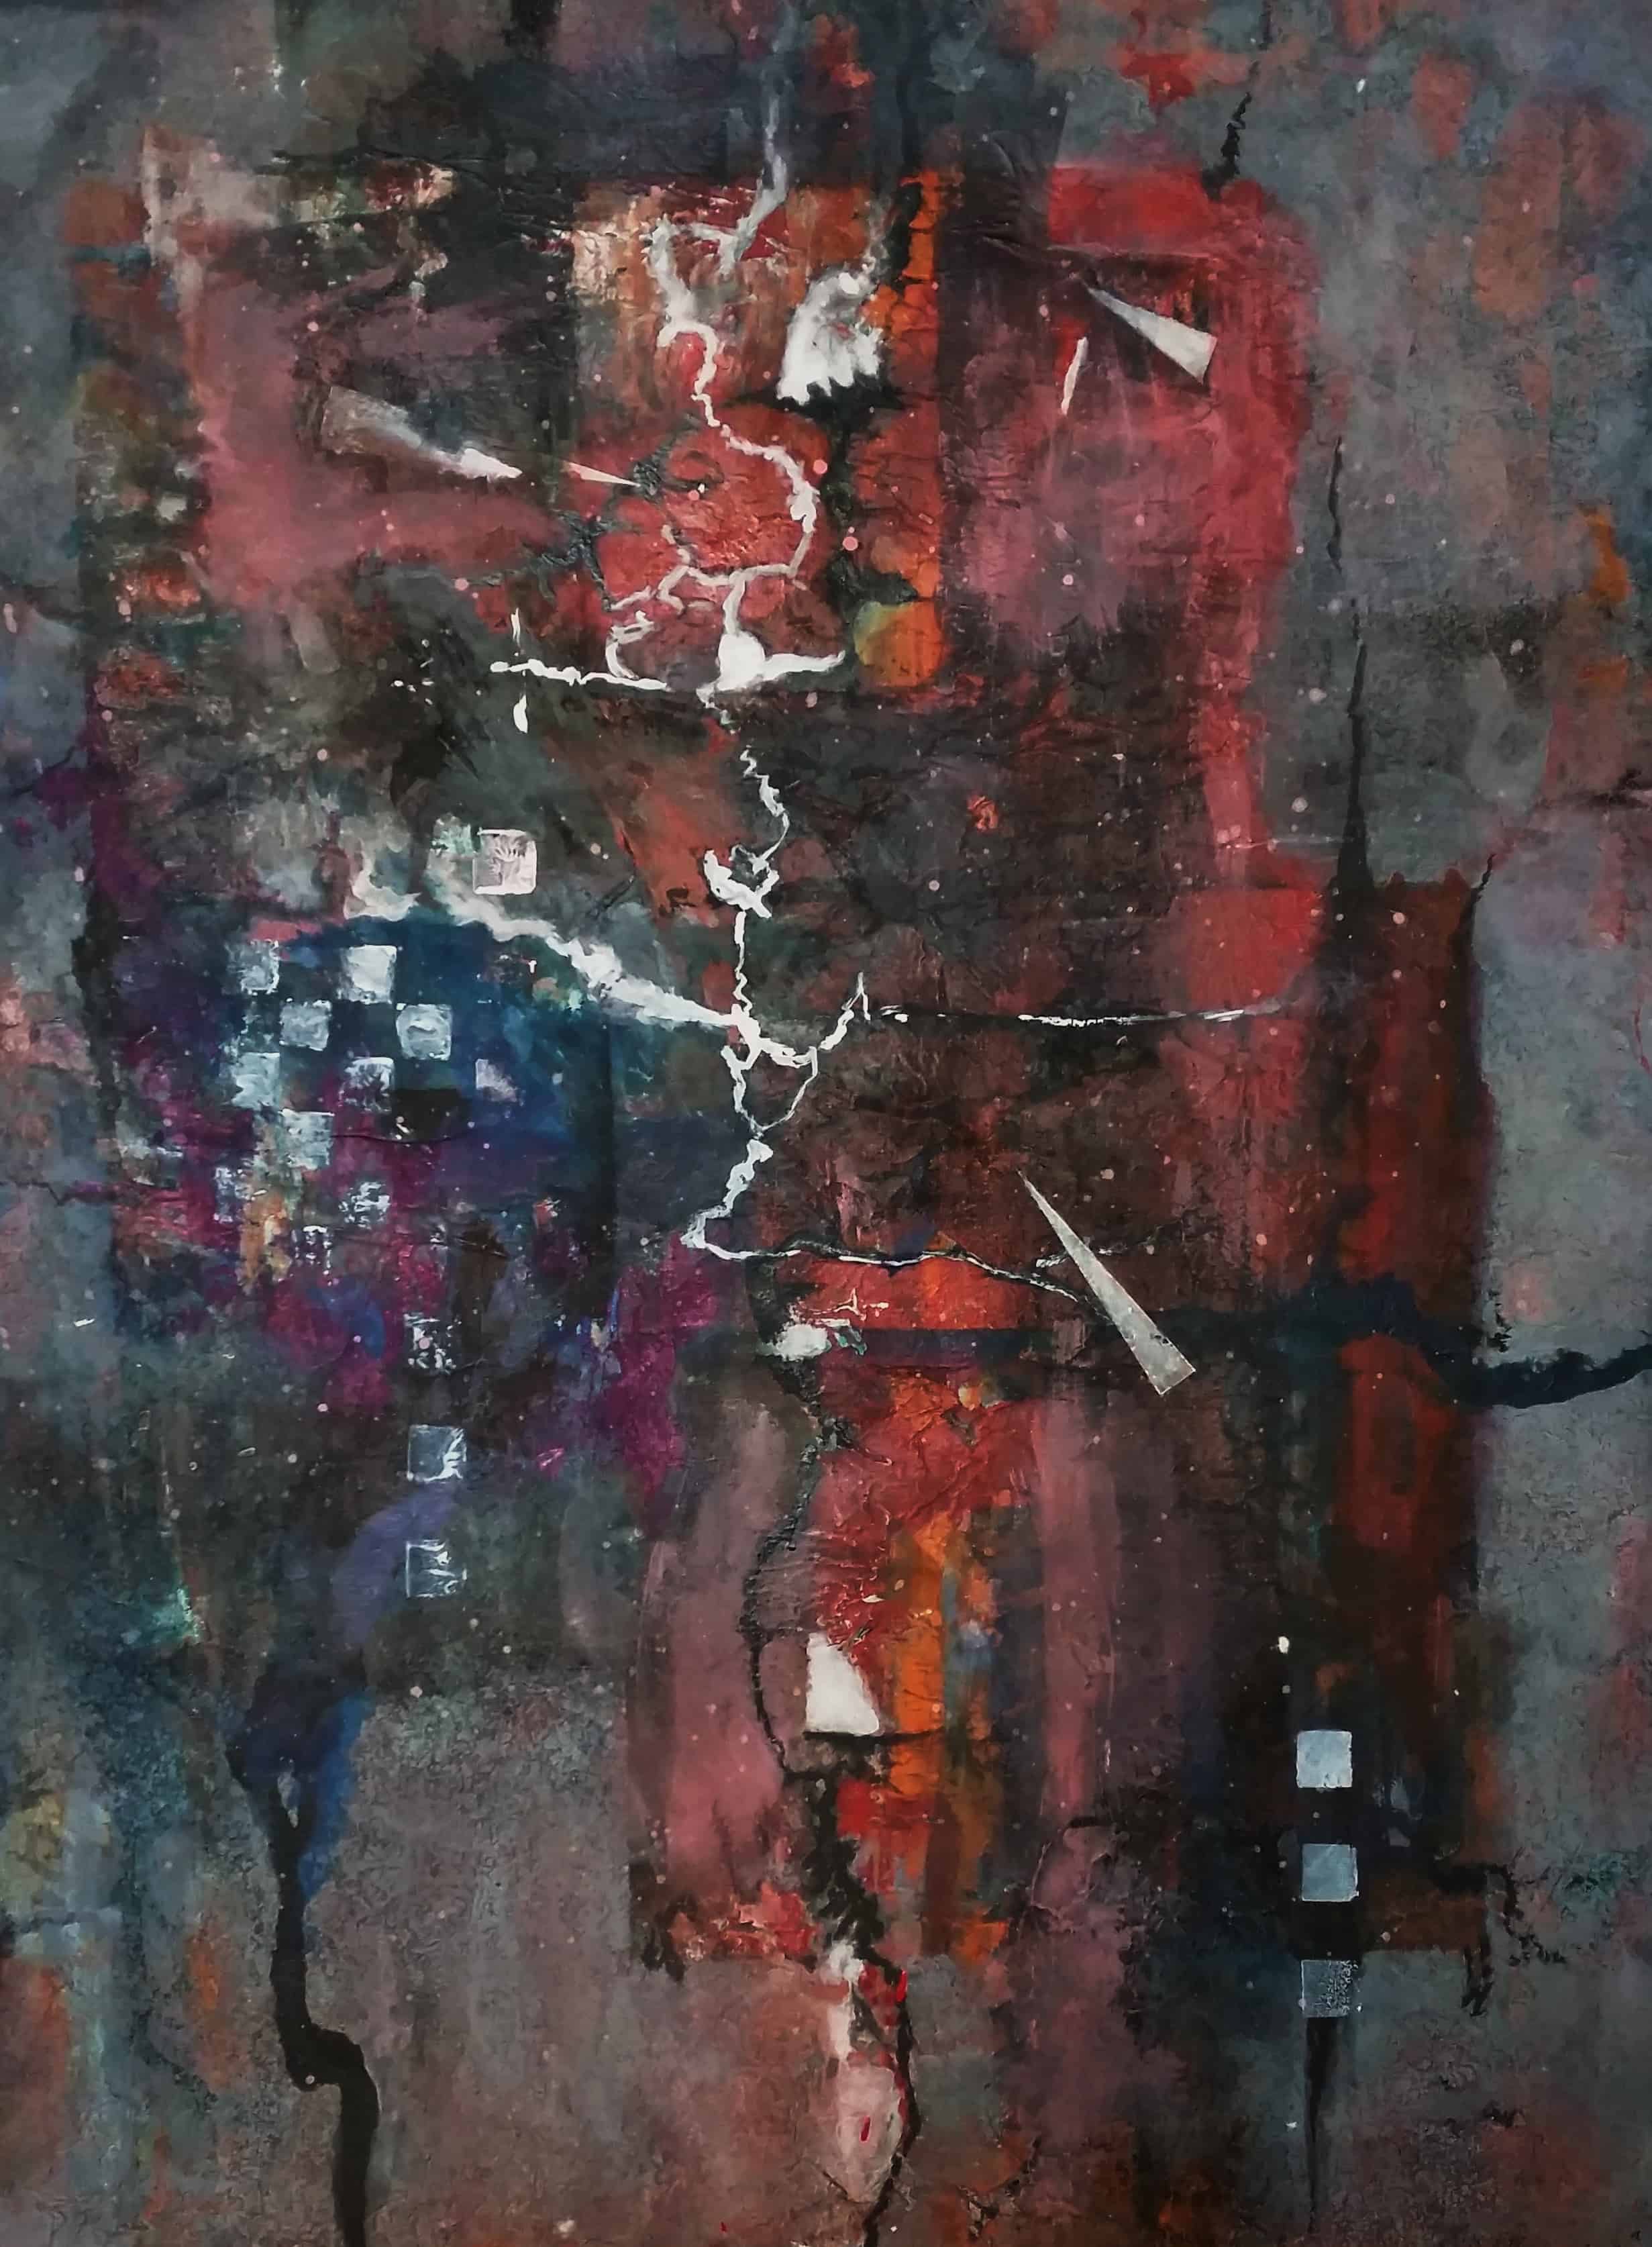
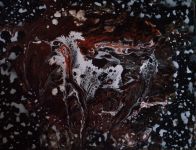
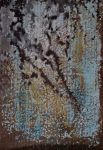
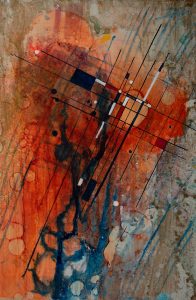
                                                   Rising Up From Ashes

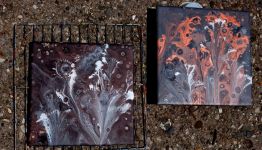
This is an interesting painting from a couple aspects–one it’s done on aluminum flashing, I purchased on a whim at Home Depot. I’d heard about painting on alternative surfaces, so thought I’d try it. Certainly is a stable ground to work on. Then it has a layer of Water Soluble Embroidery Stabilizer, which allows you to paint as if two separate layers on top of each other, sort of like using layers to blend images or parts of images in photo editing. But unlike photo editing each layer is modified by the stabilizer, depending on how wet the layers are when applied. Not a known and precise outcome, which makes it so much fun to work with, and so many possibilities.

Will be interesting if it’s accepted.

Entry in ISEA Show This Year

I’ve been remiss in posting regularly. Will get back on track with this post–my entry in the big ISEA Show.  This year it will be in Lowell Michigan, so I’ll be able to hand deliver my framed painting.

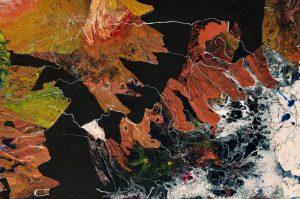
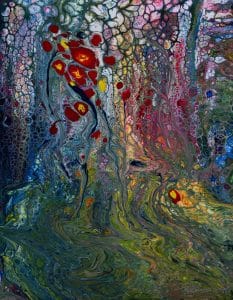
This is “Fight or Flight” – 18×24″ Acrylic

This started life out as a dirty acrylic pour–on a 20×30″ piece of Foamcore board.  The one thing I’ve learned from it was NEVER use Foamcore board for any watermedia.  It warps and buckles the whole thickness of the board, and that’s what happened with this. In the process of warping, of course all the cells ran to the center of the board.  I later tried to peel the painted part off of the foam and it tore, irregularly, especially in areas where the paint had soaked through the upper paper layer.

Well, when you get lemons, make lemonade.  After much deliberation I took the pieces that had torn off and placed them back on the foam backing with some of the areas that I hadn’t been able to get off.  After these were all glued down and emphasis lines and filled in areas done, I painted the black areas with black gesso, so that it was all uniform, and then sealed it with a UV satin coating.

Be sure to comment or ask questions. Thanks

Update on Activities This Summer

We had a great trip out west this summer.  Some of the images from that trip show up in my DAILY PHOTOGRAPHS, starting toward the end of July, and extend into August. [Click here:  http://merleplaggeart.com/dir/?page_id=317#foobox-3/32/20180701S3053-RedCapMushroom-w-1.jpg] Many more images are all in one place on my Smug Mug site: https://merleplagge.smugmug.com

Now time to get back to Abstract Art.  Working on a couple new things.

Sketching Practice

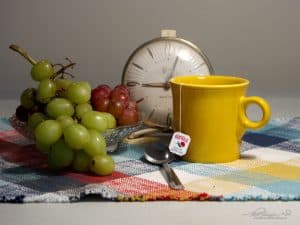
At “Art Club” at Portage Senior Center we’ve decided that we all need practice at sketching. We did just simple shapes last week, and this week had a set-up which is interesting. None of us got it anywhere near finished. So, I’ll just post the setup now and later the results.

This is a middle view that I saw from my seat around the table.  The grapes were real, but I’m going to change the time on the clock in my drawing.

Thanks for checking it out. If you would like to have a better (larger) file than this, for your own use, just let me know.  Contact listed on my “About” page.

Workshop – June 25-27

My challenge and theme for this workshop was CONSTRAINTS and how they may make your painting freer and more imaginative.

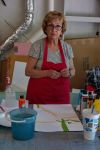
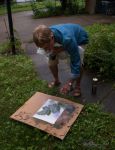
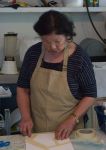
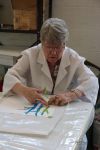
Had wonderful weather for my workshop this year, although the last day was rainy at times.  We covered lots of topics: some new pour techniques, making collage papers, monoprinting for texture background and spraying oil type paints over wet paper using leaves/flowers as templates,

For my major project this year, I gave each artist  a box of found objects, papers, etc, that they were to use at least 6 of them, in any number of paintings using an image I supplied for inspiration.  Of course, the images were all very abstract and some just highlights and shadows of unrecognizable objects. This was a very difficult project this year.

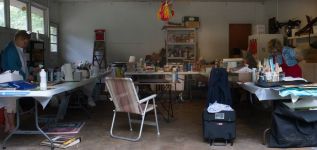
Here are some pictures taken during the workshop. Many keepers in the mix

Comments or questions always welcomed.

Three more new paintings

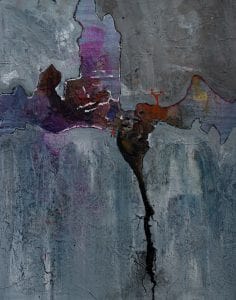
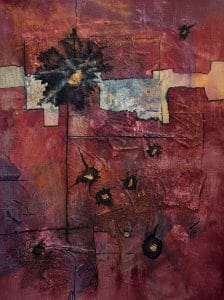
All, completed this past winter and spring.  I’ve been working with watersoluble embroidery stabilizer and the possibilities of using it on old failed paintings.  All three of these have been done previously on stretched quarter sheet 140lb Arches paper.  All are done with water soluble media as well as art markers and the embroidery stabilizer.

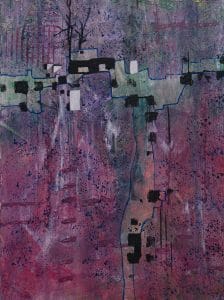
This is called “Cracks” AND I think it has two layers of failed paintings underneath.
This is “Alien House.”


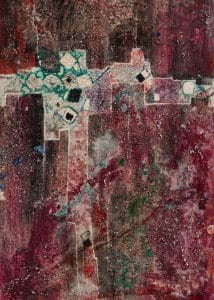
And this is “Acentric Heraldry” and has a couple of layers underneath as well as some thick collage which adds to the texture of this top layer.  The small centers of the black spots are pieces of gold colored ribbon.
I still have about five or six more that are not quite finished, but will be soon, and I’ll present those next.

Comments always welcomed and encouraged.  🙂

Three New Paintings

All completed this winter and early spring.  This one is called “Transformation” and is mixed media, 15×11″. Includes old house paint and watercolor, gesso and embroidery stabilizer as well as acrylic ink.

This one is “Gentleness.” It’s an acrylic pour done on mat board that was prepared with Gloss Medium on both sides.  The lines added later are acrylic ink, done with an old fashioned nib. It’s 15×11″.

And the last in this post is “Cladonia” which is an acrylic pour on Yupo.  It looks a lot like the lichen “British Soldiers” which is very common in the woods Up North.  It’s 13×10″.


New Acrylic Pour Painting an 8×8″ Tile

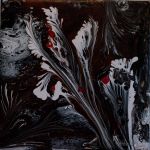
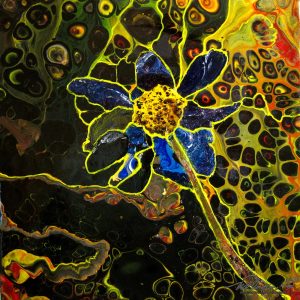
This started as an acrylic pour in black, yellow and red.  It was nice cells, but otherwise didn’t have much interest. From another pour I had some drippings that looked like petals, so I added them forming a flower shape.  The center was another piece of “pour puddle” which I enhanced with some brown dots of acrylic.  The acrylic pieces when peeled off the freezer paper they were on, adhered immediately and permantently to the acrylic pour on the tile.   I outlined the whole flower and stem with yellow acrylic and enhanced some of the yellow lines from the pour.  I like it very much now.

Now I’m giving it a couple more coats of UV Varnish and adding some hanging loops on the back, so I can string some picture wire on them and hang it as a normal painting.

Comments appreciated.